
Spectrio’s digital signage platform empowers businesses, schools, and organizations to captivate their audience with dynamic displays. From managing content to scheduling playlists and monitoring performance, Spectrio’s user-friendly interface ensures seamless control over your digital signage. This guide provides detailed instructions to help you maximize the potential of Spectrio’s tools, whether you’re uploading content, creating playlists, or configuring advanced settings for optimal display management.
Accessing the Platform
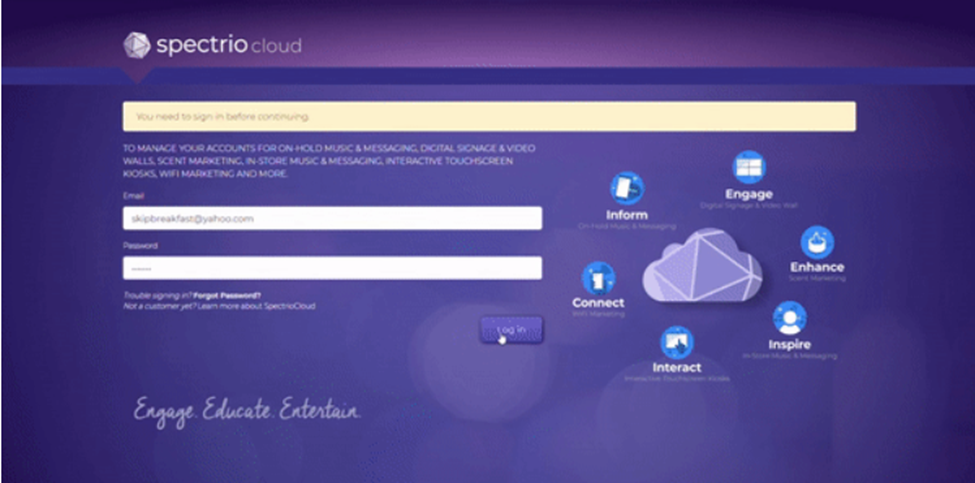
Steps to Log In
- Open Your Web Browser
- Use a supported browser like Google Chrome or Safari for the best experience.
- Navigate to SpectrioCloud
- Go to SpectrioCloud and click on the Login button.
- Enter Your Credentials
- Provide your registered email and password, then click Login.
- Note: Passwords are case-sensitive.
Troubleshooting Login Issues
- Double-check your credentials to ensure they are entered correctly.
- Verify your internet connection is stable.
- Ensure your browser is updated to the latest version.
- Clear your browser’s cache and cookies if login problems persist.
- Contact Spectrio Support if you continue to experience issues.
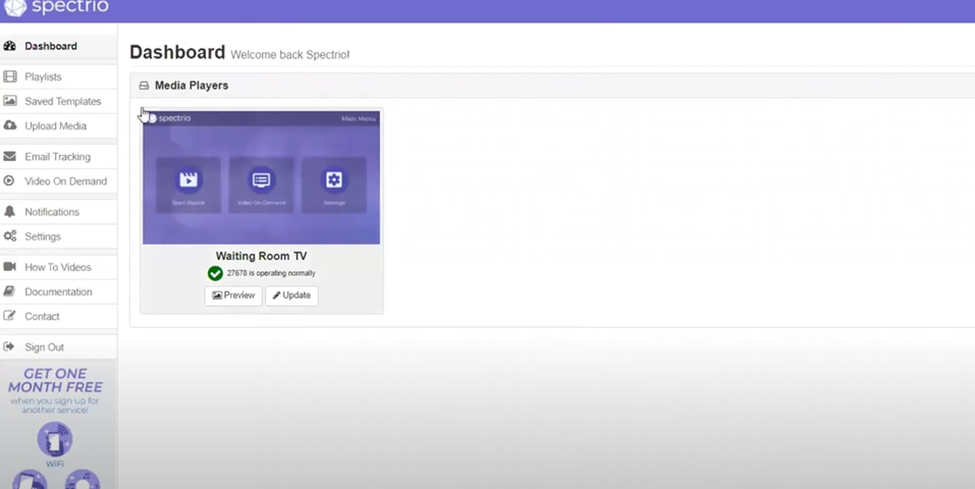
Dashboard Overview
The Spectrio dashboard provides a centralized interface for managing all aspects of your digital signage. Here’s an overview of its key sections:
1. Digital Signage App
- The Digital Signage App is essential for linking your media players or Smart TVs to the Spectrio platform.
- Steps to Set Up the App:
- Navigate to the Applications tab in SpectrioCloud.
- Download the Digital Signage App for your device.
- Open the app and enter the unique device code provided in your Spectrio account.
- Verify the connection status in the Displays tab.
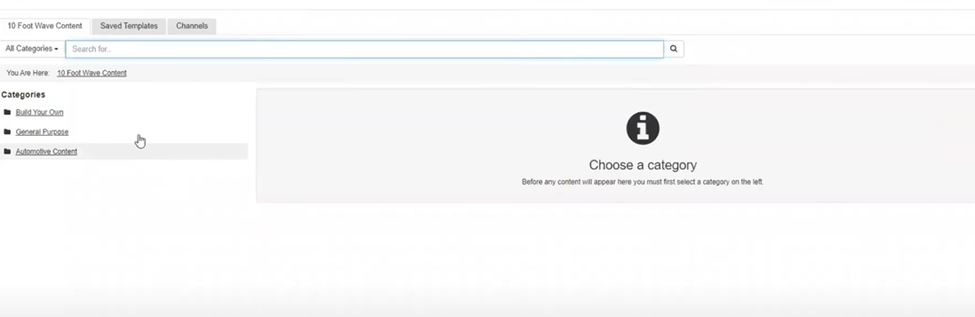
2. Content Library
- The Content Library is where you store and manage all your media files, such as images, videos, and animations.
- Uploading Content:
- Click Upload Media and select files from your computer.
- Organize your files into folders for easier navigation.
- Supported formats include JPEG, PNG, MP4, AVI, and more.
- Editing Media:
- Resize, crop, and apply filters to your content directly within the library.
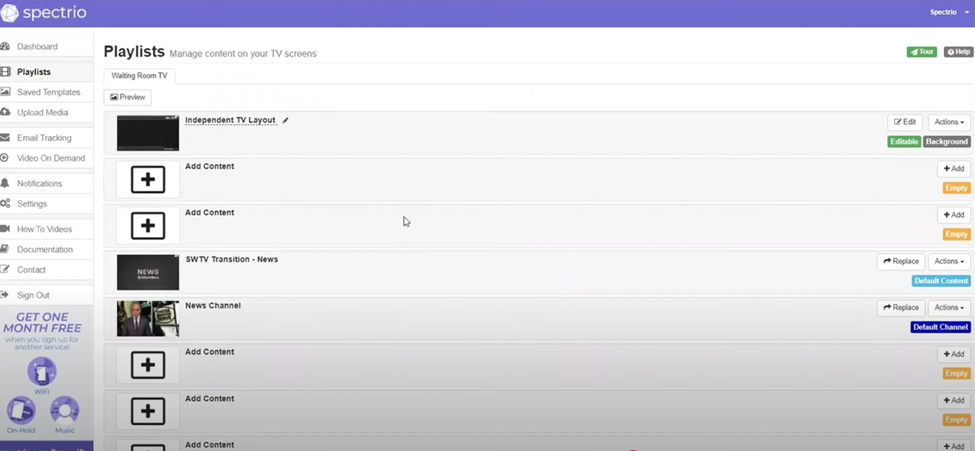
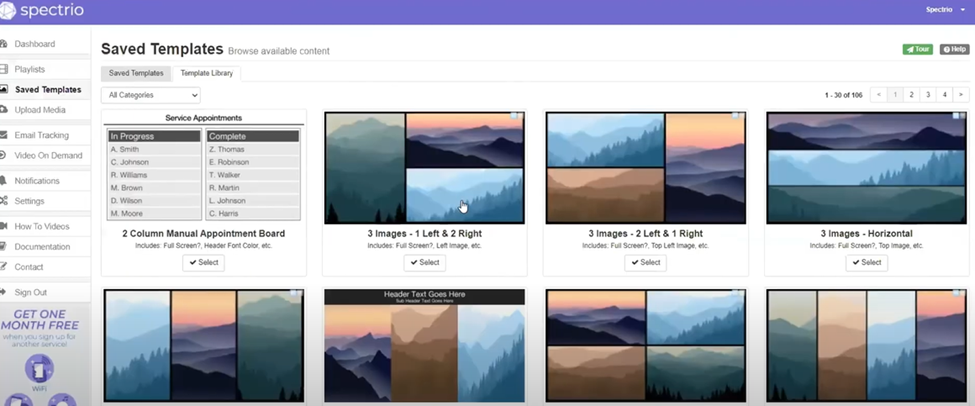
3. Playlist Management
- Playlists control the sequence and timing of content displayed on your screens.
- Creating a New Playlist:
- Click the Playlists tab and select New Playlist.
- Drag media files from the Content Library into the playlist timeline.
- Adjust the order and duration of each slide to optimize viewing.
- Advanced Features:
- Add transitions between slides for a professional look.
- Set conditional rules to display specific content based on time or location.
4. Display Configuration
- Manage all connected displays under the Displays tab.
- Key Features:
- Monitor the online/offline status of each display.
- Adjust display settings such as brightness, resolution, and orientation.
- Group displays to apply settings and playlists simultaneously.
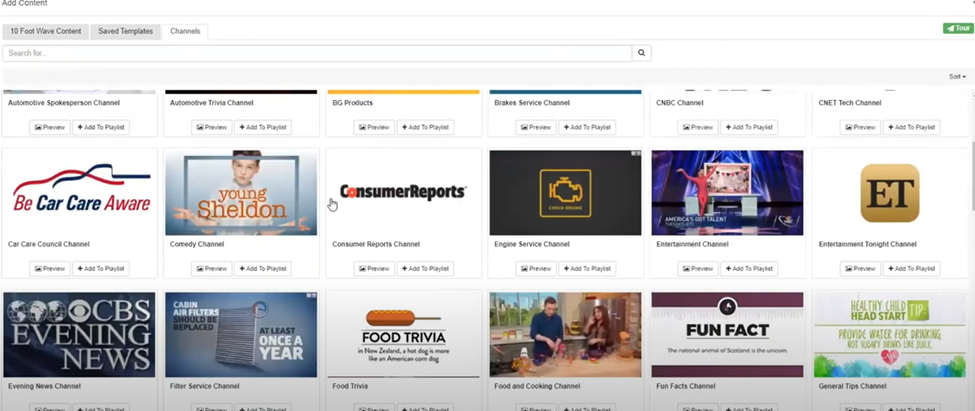
Uploading and Managing Content
How to Upload Graphics or Videos
- Log in to your SpectrioCloud account and navigate to the Content Library.
- Click Upload Media and select the files you wish to upload from your device.
- Organize uploaded content into folders or tag them for easy retrieval later.
- Review uploaded files to ensure they meet recommended specifications:
- Images: High resolution (1920×1080 pixels recommended).
- Videos: MP4 format with a maximum size of 4GB for smooth playback.
Editing Content in the Library
- Resizing and Cropping: Tailor media dimensions to fit your display’s aspect ratio.
- Organizing Folders: Group similar files (e.g., promotional content or seasonal graphics) for better workflow management.
- Previewing Media: Click on a file to view how it will appear on your displays.
Best Practices for Content Management
- Use high-contrast visuals for better readability.
- Ensure text is large enough to be seen from a distance.
- Regularly review and update content to keep messaging fresh and relevant.
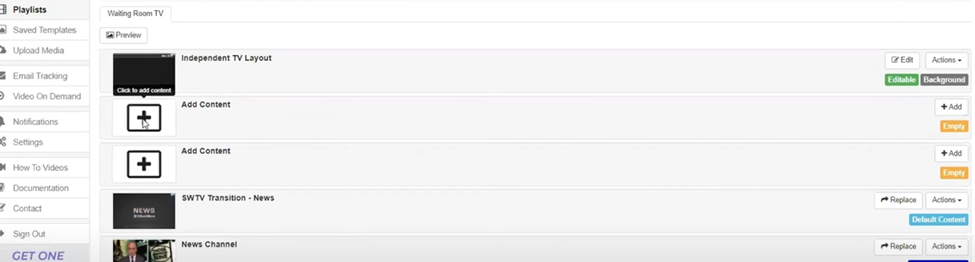
Creating and Scheduling Playlists
Steps to Create a Playlist
- Navigate to the Playlists tab and click New Playlist.
- Drag and drop files from the Content Library into the playlist timeline.
- Configure the following for each slide:
- Duration: Set how long the content will appear on-screen.
- Transitions: Choose effects such as fade or slide for smoother visuals.
- Order: Rearrange slides to match your desired sequence.
Scheduling Playlists
- Use the Schedule tab to control when playlists appear on your displays:
- Daily Schedule: Specify start and end times for recurring content.
- Custom Schedule: Assign playlists to specific dates, times, or events.
- Tips for Effective Scheduling:
- Plan content around peak viewing times.
- Rotate promotional and informational slides for variety.
High-Priority Content
- Mark urgent messages as high priority to override existing schedules temporarily.
- Examples include emergency alerts or time-sensitive promotions.
Previewing and Publishing Content
Previewing Playlists
- Click the Preview button to simulate how your playlist will appear on-screen.
- Check for:
- Proper alignment and scaling of images/videos.
- Smooth transitions between slides.
- Text legibility and overall design coherence.
Publishing Playlists to Displays
- Select the target displays under the Displays tab.
- Click Send Playlist and choose the desired playlist.
- Confirm the upload and monitor the display’s status to ensure successful delivery.
Advanced Settings
Brightness and Power Controls
- Optimize your display’s brightness settings based on environmental lighting:
- Automatic Mode: Adjusts brightness using built-in light sensors.
- Scheduled Mode: Define brightness levels for specific times of the day.
- Manual Mode: Set a fixed brightness level as needed.
- Use the Power Schedule to conserve energy by turning displays off during non-operational hours.
Offline Mode and USB Updates
- If a display loses internet connectivity, it will continue to play the last synced playlist.
- To update content manually:
- Download the playlist to a USB drive.
- Insert the USB into the media player connected to the display.
- Follow on-screen prompts to update the playlist.
Retrieving Diagnostic Information
- Insert a USB drive into the display to generate a diagnostic file.
- Open the file on your computer to review system health and troubleshoot issues.
Quick Start Tips
- Explore Spectrio’s video tutorials and documentation in the Help Center for deeper insights.
- Schedule seasonal or promotional campaigns in advance to save time.
- Use consistent branding across all playlists for a professional appearance.
Conclusion
Spectrio’s digital signage solution is designed for both simplicity and functionality, offering robust tools to create, manage, and optimize your content. By following this detailed guide, you can confidently manage your displays, create impactful messaging, and ensure your audience remains engaged. Embrace Spectrio’s advanced features to elevate your digital signage and achieve your communication goals.